Embellished Curtain Panels Tutorial
Slowly but surely I am getting back to the swing of things and to my projects. Next in line, for the past 2.5 months, has been embelishing a pair of Ikea MERETE panels for my DH music's room.
 |
| Photo courtesy of Ikea.com |
I have tried to purchase curtains at discount stores, but I could only find 84-86" length, VERY narrow panels. Ikea was the only affordable place to get curtains that were both long and wide enough to cover my windows. I chose these white panels, I had them in my cart when I crossed the isle to the fabric section, and low and behold the sky opened! Guess what was in the discontinued sale bin? This!!!
 |
| Photo courtesy of Ikea.com |
If this is not serendipitous I don't know what is! Music room anyone?
I paid less than $5 a yard and this ended up to be the perfect missing link in the equation. Something that will infuse some print into the room, but still remains subtle enough not to overwhelm the tiny space. The fabric is lightweight and perfect to add as a border to the panels. So I got to work.
First off I washed, dried and ironed the curtains AND the music fabric. I was afraid of having the two fabrics shrinking later and making a pulling/puckering mess!
I laid out my fabric on the floor over the panels just to figure out how thick of a band I wanted.
Rufus is always quit the helper!

With a size in mind, I proceeded to cut my panels. Tip: if you make a small cut and then tear the fabric, the weave will make you go straight and you will save much time! PS: never mind my ugly hands, I was also simultaneously working on a paint job. Oil paint does ugly things to hands! -__-

I made sure both panels were of equal width, then I cut and tore the second one.

At this point I laid the printed fabric face down (wrong side towards me) in the "middle" of the panels. Keep in mind that my plan here was to make a straight stitch on the lower portion of the music fabric. Then I'd flip the fabric down and blind stitch over it, for aesthetic reasons. I had to do quite some thinking, to make sure that the print would face the correct way. It contains script, so it is crucial for it not to be upside-down! Smokey was also happy to lend a paw in the process ^__^

Here is the lower part of the music fabric pinned to the panel and ready to be sewn.

Straight stitching the panel in place.

This is what the straight stitch looked like.

Then I flipped the fabric over and blind stitched on the right side of the print. Now that the fabric has been flipped over, I am stitching on the top of the music panel. I hope this makes sense.

I laid the curtains flat one more time, I folded over twice the sides of the music fabric, pinned it in place and straight stitched it.

This is what the stitching looks like on the right side of the curtain panel.

For the hem I decided to just do a straight stitch (to keep the curtains and the panel together) since I would be hemming using the enclosed Ikea hemming tape. I am always thinking ahead...what if we move and I need longer panels? Easier to let the hem down with hemming tape! ;)

At this point I hang my curtains up and pinned to desired length.

I then took the curtains down and got ready to ironing the hemming tape. It's hard to see with the white on white, but all that was needed was to tuck the hemming tape under my pinned fabric...

And then press over it. Easy peasy.

I then re-hung the curtains on the rod and admired my handy work. Here are the panels completely closed.
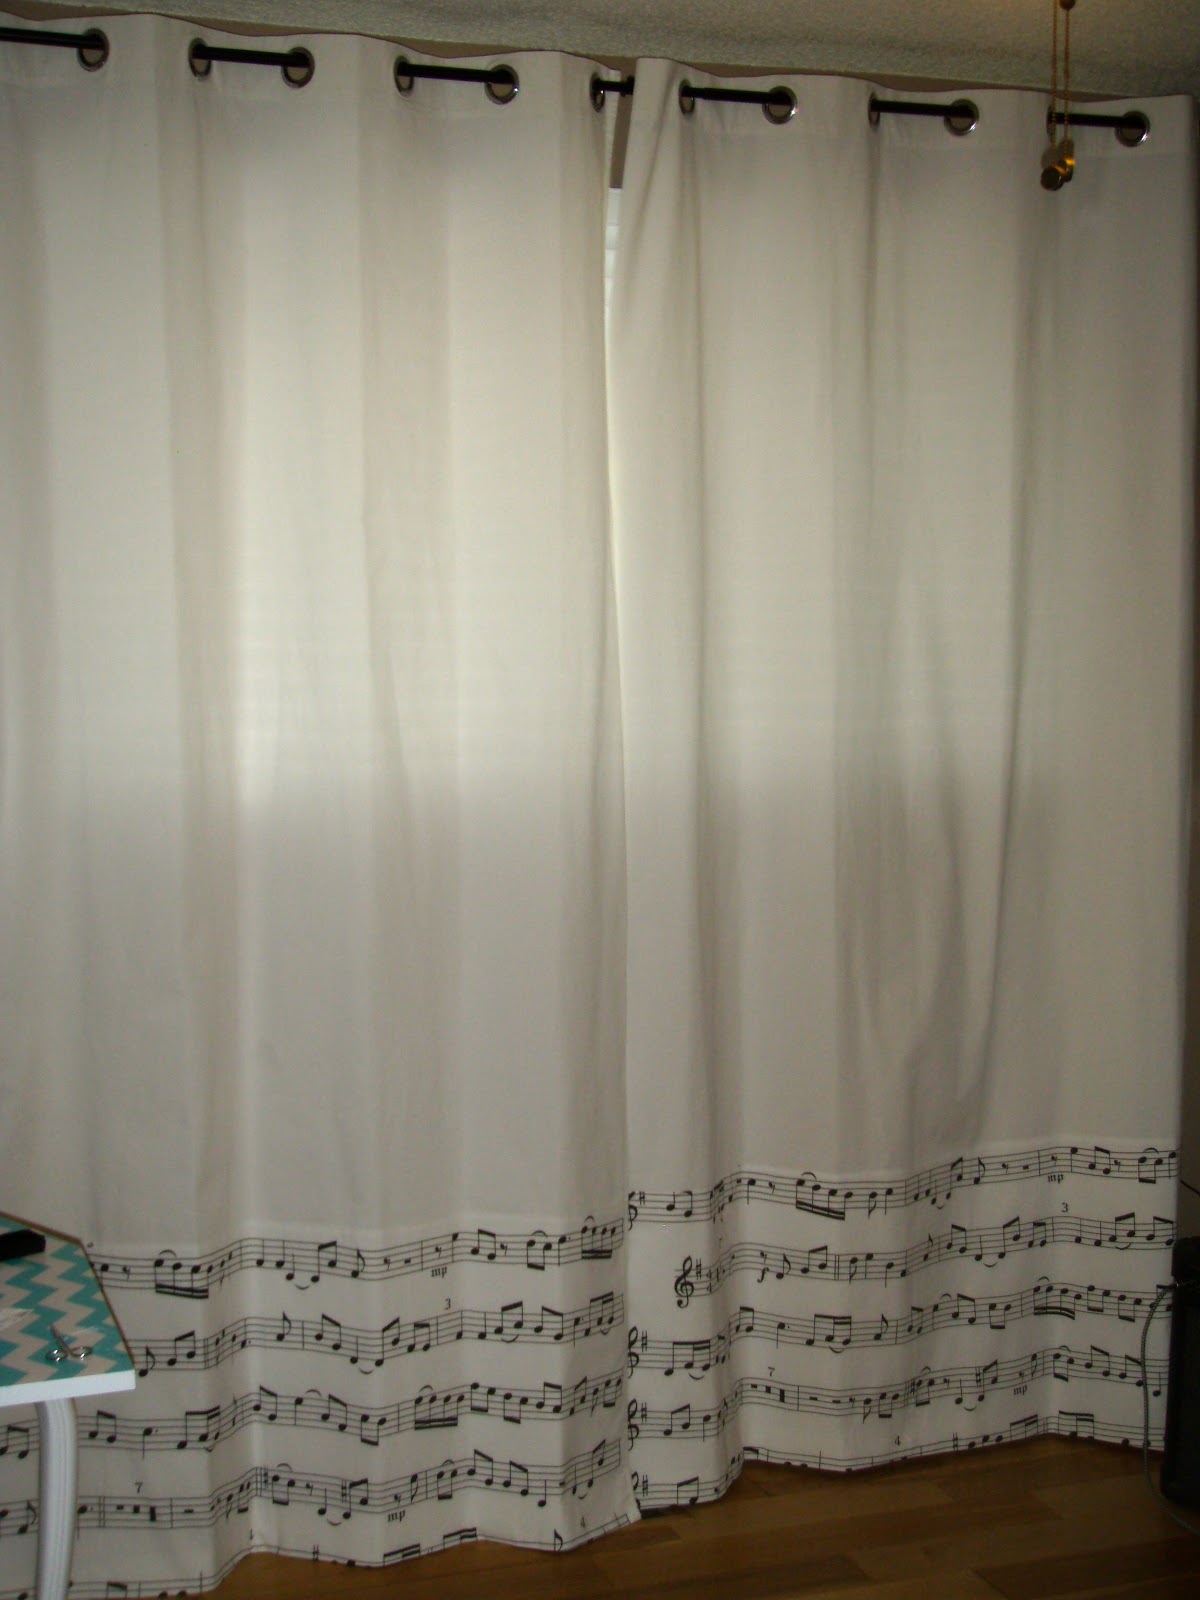
And this is how they look when they are open.

It's hard to take a good photo of a window, with the direct light coming in...but this is another shot.

With time I am planning to use the rest of the music fabric to make other accessories for the room (pillows, maybe modge podge a box and so on).
Now, time for your very own creations!
No comments:
Post a Comment